S.T. Dupont Ligne 2 Lighter Maintenance Guide: Tips for Keeping Your Lighter in Pristine Condition
Table of Contents
Introduction
S.T. Dupont Ligne 2 lighters are synonymous with luxury and elegance, having been crafted to perfection since their introduction in 1977. These lighters have become a symbol of refined taste and are often considered collector’s items. To preserve their beauty and ensure optimal performance, it is essential to maintain them properly. In this blog post, we will provide a comprehensive guide on how to clean, refill, adjust, and store your S.T. Dupont Ligne 2 lighter to keep it in pristine condition for years to come. We will also discuss the importance of proper maintenance in ensuring longevity and performance.

Cleaning the Lighter
To keep your S.T. Dupont Ligne 2 lighter looking and functioning at its best, regular cleaning is crucial. In this section, we will outline the materials needed and the steps to clean both the exterior and interior of the lighter.
A. Materials needed:
- Soft cloth: A microfiber or lint-free cloth is ideal for cleaning the exterior of the lighter without leaving any residue or causing scratches.
- Cotton swabs: These are essential for reaching into small spaces and crevices of the lighter, particularly when cleaning the interior.
- Mild soapy water (optional): This can be used to remove stubborn stains or dirt but should be used sparingly to avoid damaging the lighter’s finish.
B. Cleaning the exterior:
- Wiping down with a soft cloth: Gently wipe the entire surface of the lighter with the soft cloth to remove any dust, dirt, or fingerprints. Be sure to apply gentle pressure to avoid scratching the finish.
- Removing fingerprints and smudges: If fingerprints or smudges remain, dampen the cloth slightly with water or mild soapy water and gently rub the affected area until clean. Be sure to dry the lighter thoroughly afterward to prevent any water damage.
- Cleaning grooves and details with cotton swabs: Use a dry cotton swab to clean any intricate details or grooves on the lighter. If needed, dampen the cotton swab with water or mild soapy water to remove stubborn dirt, but be sure to dry the area thoroughly afterward.
C. Cleaning the interior:
- Ensuring lighter is empty of fuel: Before cleaning the interior, ensure that the lighter is completely empty of fuel to avoid any accidents or damage.
- Removing any debris or buildup with cotton swabs: Use a dry cotton swab to clean the fuel chamber, nozzle, and any other interior components. If needed, dampen the cotton swab with water or mild soapy water to remove stubborn buildup, but be sure to dry the area thoroughly afterward.
- Drying the interior before refilling: Allow the lighter’s interior to dry completely before refilling it with fuel to prevent any damage or issues with the lighter’s function.
Refilling the Lighter
Refilling your S.T. Dupont Ligne 2 lighter is a crucial aspect of maintaining its performance. In this section, we will discuss the importance of using high-quality butane and outline the steps to refill the lighter properly.
A. Choosing the right fuel:
- Importance of using high-quality butane: To ensure optimal performance and prevent clogs or damage, it is vital to use high-quality butane in your S.T. Dupont Ligne 2 lighter. Lower-quality butane may contain impurities that can cause issues with the lighter’s function.
- Recommended brands: Some recommended brands of butane for use in your S.T. Dupont Ligne 2 lighter include S.T Dupont Butane, Colibri Premium Butane, and Xikar High Performance Butane. These brands are known for their purity and performance, ensuring the proper functioning of your lighter.
B. Refilling process:
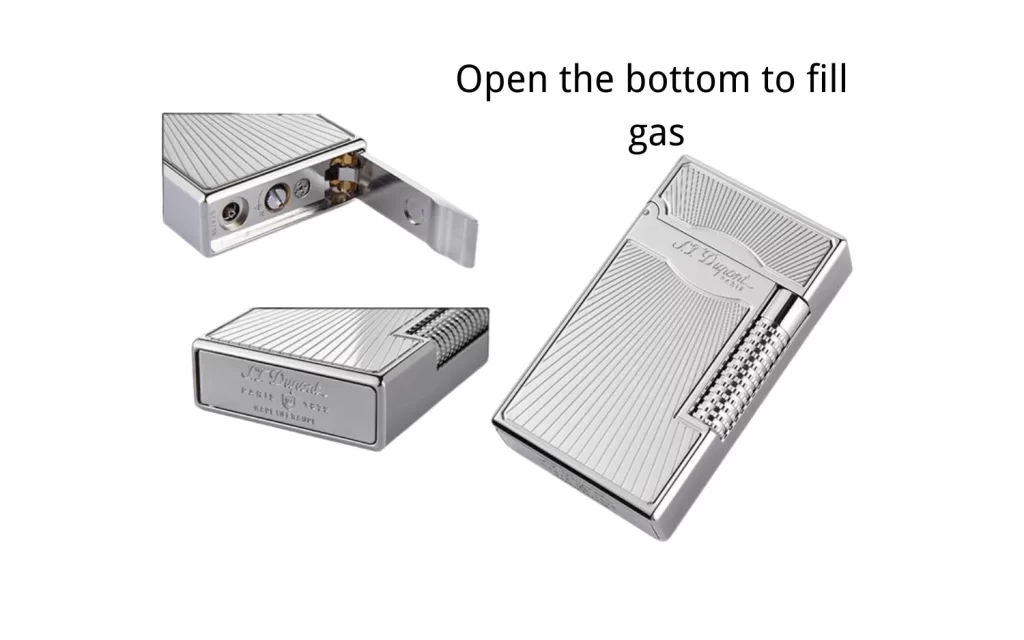
- Bleeding the lighter: Before refilling the lighter, it is essential to bleed it by releasing any remaining air or old butane. This can be done by depressing the fuel valve with a small tool, such as a paperclip, until all air and gas have been expelled. This step ensures a proper fill and prevents air bubbles from forming in the fuel chamber.
- Filling the lighter with butane: Invert the lighter and insert the butane canister’s nozzle into the lighter’s fuel valve. Press down firmly and hold for a few seconds, allowing the butane to flow into the lighter. Repeat this process until the lighter is full, typically indicated by a slight overflow of butane or a change in sound.
- Ensuring a proper seal after refilling: Once the lighter has been filled, ensure that the fuel valve is closed properly and that no butane is leaking. If a leak is detected, tighten the fuel valve or consult the lighter’s manual for troubleshooting steps.
- Allowing the lighter to rest before use: After refilling, allow the lighter to rest for a few minutes before using it. This resting period allows the butane to stabilize inside the lighter, ensuring optimal performance when ignited.
Adjusting the Flame
To ensure a consistent and safe flame, it is essential to understand and adjust the flame mechanism on your S.T. Dupont Ligne 2 lighter. In this section, we will discuss the flame adjustment mechanism and the steps for adjusting the flame to your desired level.
A. Understanding the flame adjustment mechanism:
The flame adjustment mechanism on the S.T. Dupont Ligne 2 lighter allows you to control the height and intensity of the flame. This can be useful for various lighting situations, such as lighting a cigar, a cigarette, or a candle.
B. Steps for adjusting the flame:
- Locating the adjustment screw: The flame adjustment screw is typically located on the bottom of the lighter, near the fuel valve. Consult your lighter’s manual if you have difficulty finding it.
- Using the correct tool: To adjust the flame, use a small flathead screwdriver or a similar tool that fits the adjustment screw.
- Turning the screw gently to avoid damage: To increase the flame, turn the adjustment screw counterclockwise; to decrease the flame, turn it clockwise. Make small adjustments and test the flame between adjustments to avoid over-adjusting or causing damage to the lighter.
- Testing the flame and making adjustments as needed: After adjusting the flame, ignite the lighter to test the flame height and intensity. If further adjustments are needed, repeat the previous steps until the desired flame is achieved.
Replacing the Flint
Over time, the flint in your S.T. Dupont Ligne 2 lighter may wear down and need to be replaced. In this section, we will discuss the signs that the flint needs to be replaced and outline the steps for doing so.
A. Signs that the flint needs to be replaced:
- Difficulty sparking: If the lighter is difficult to ignite or requires multiple attempts, it may be a sign that the flint needs to be replaced.
- Inconsistent flame: An inconsistent or weak flame may also indicate that the flint is worn and should be replaced.
B. Steps for replacing the flint:
- Purchasing the correct flint size: Ensure that you purchase the correct size flint for your S.T. Dupont Ligne 2 lighter. Consult the lighter’s manual or contact the manufacturer for guidance on the appropriate flint size.
- Removing the old flint: To remove the old flint, first, locate the flint chamber, typically found near the bottom of the lighter or near the striker wheel. Unscrew or remove the flint chamber cap, and carefully remove the old flint. Use a small tool, such as a paperclip or tweezers, to help remove the flint if it is stuck.
- Inserting the new flint: Place the new flint into the flint chamber, ensuring it is positioned correctly and securely. Replace the flint chamber cap and screw it back into place, ensuring a tight fit.
- Testing the lighter to ensure proper function: Once the new flint has been installed, test the lighter by attempting to ignite it. If the lighter sparks and produces a consistent flame, the flint has been successfully replaced. If the lighter still does not function correctly, consult the lighter’s manual or contact the manufacturer for troubleshooting assistance.
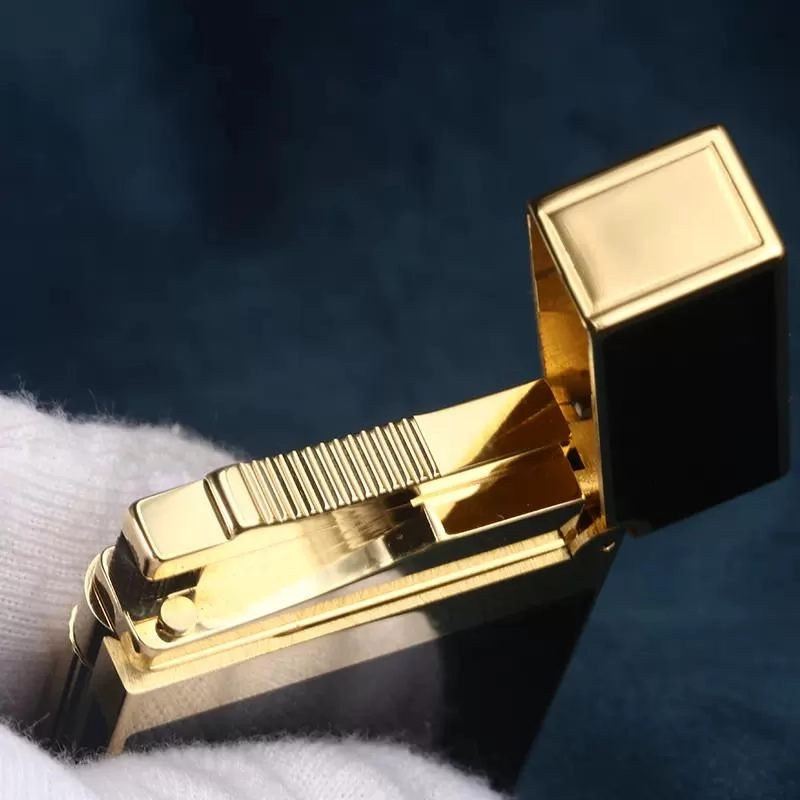
Storing Your Lighter
Proper storage of your S.T. Dupont Ligne 2 lighter is essential for maintaining its condition and preventing damage. In this section, we will discuss the importance of proper storage and provide tips for storing your lighter.
A. Importance of proper storage:
Storing your lighter correctly can prevent damage to its delicate components, such as the flint and striker wheel, and protect its exterior finish. Proper storage also helps maintain the lighter’s performance and extend its lifespan.
B. Tips for storing your lighter:
- Keeping it in a cool, dry place: Store your lighter in a cool, dry location away from direct sunlight and extreme temperatures. Excessive heat or cold can damage the lighter’s components and affect its performance.
- Using a protective case or pouch: Use a protective case or pouch designed specifically for your S.T. Dupont Ligne 2 lighter to prevent scratches, dents, or other damage to the exterior. A protective case can also help keep dust and dirt from accumulating on the lighter.
- Ensuring the lighter is empty of fuel for long-term storage: If you plan to store your lighter for an extended period, it is recommended to empty it of fuel to prevent potential leaks or damage to the lighter’s internal components.
Conclusion
In conclusion, maintaining your S.T. Dupont Ligne 2 lighter is essential for preserving its pristine condition, ensuring optimal performance, and extending its lifespan. By following the tips outlined in this blog post, including cleaning, refilling, adjusting the flame, replacing the flint, and storing your lighter properly, you can enjoy your S.T. Dupont Ligne 2 lighter for many years to come. Remember, proper maintenance not only keeps your lighter looking and functioning at its best but also reflects your refined taste and appreciation for luxury items.
- S.T.Dupont Ligne 2 Pharaoh Lighter: Craftsmanship Meets Royalty in This Limited Edition
- The Rise of Replica S.T. Dupont Lighters: Elegance at a Fraction of the Price
- Best Luxury Lighter Gifts for Gentlemen in 2023: Exploring Premium Brands under $800
- The Spectre of Style: A Review of the ST Dupont 007 Lighter
-
Experience Luxury: S.T. Dupont Ligne 2 Sun Burst Red With Palladium Lighter
$1,155.00$679.00 -
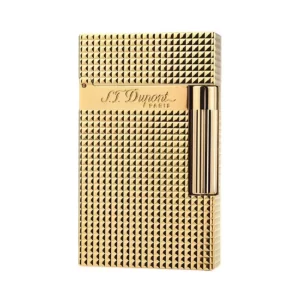
Experience Luxury: S.T. Dupont Ligne 2 Diamond Head With Gold Finish Lighter
$1,055.00$595.00 -
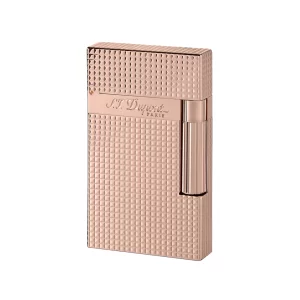
Experience Luxury: S.T. Dupont Ligne 2 With Rose Gold Finish Lighter
$1,100.00$615.00 -
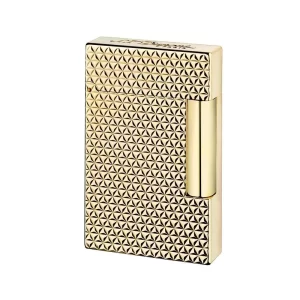
Experience Luxury: S.T. Dupont Ligne 2 Fire Head Gold Lighter
$1,125.00$685.00


